
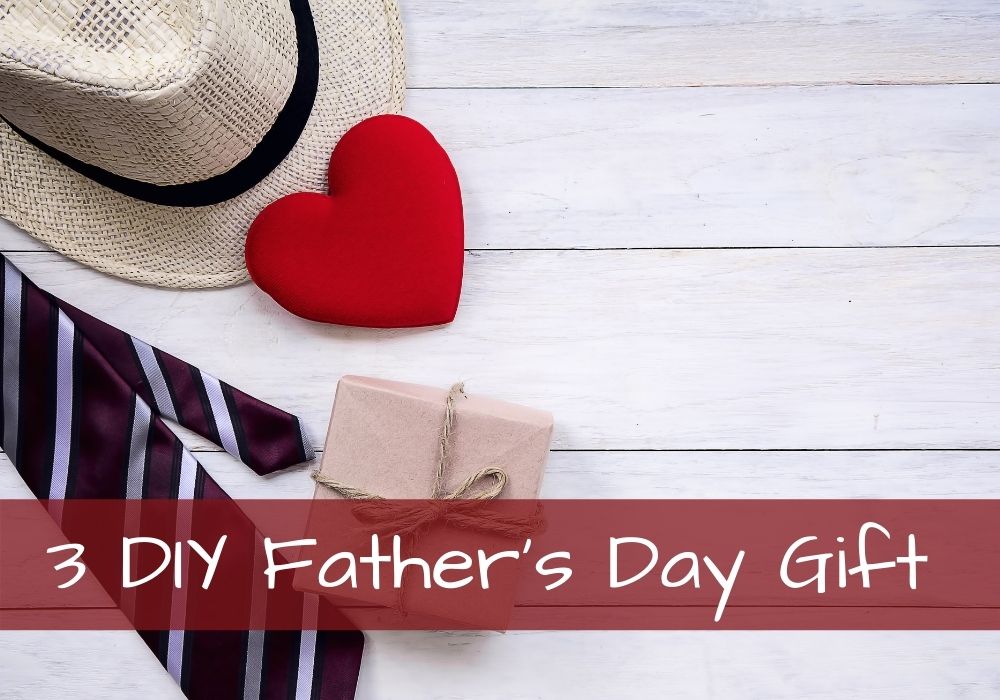
3 DIY Gifts for Father's Day
Father’s Day is one day of the year where we can take the time to show our appreciation for the dads in our lives. Whether you are celebrating a father, stepfather, husband, or grandfather, this day is meant to honor all the men who have made us the person we are today. There are many ways we can make our dads feel loved on Father’s Day. Making the day memorable could include creating a handmade gift that dad will cherish forever. A handmade gift shows him that time was spent making a gift with love, rather than picking up any cliché gift from the shopping center. Make Father’s Day a day he’ll remember by taking the extra time to make your dad feel appreciated!
Here are 3 DIY gifts to brighten your dad’s day!
1. Personalized Gift Basket
 Creating a gift basket is a simple way to show your dad how much you appreciate him. Start by finding a basket, or get creative by putting your dad’s favorite treats in empty tin or paint can. Next, fill your container of choice with your dad’s favorite snacks like a bag of Reece’s Pieces or Jack Link’s beef jerky.
2. Leather Key Chain

For this DIY, you will need:
- 1" wide leather strips
- Scissors
- Hammer
- Alphabet leather stamping kit
- Awl
- Metal rivets
- Acrylic paint
- Painter's tape
- Paintbrush
- Keyring
Directions:
Step 1: Create Holes - Cut a 5" long leather strip. Use an awl to make a 1/8” wide hole on both ends of the strip.
Step 2: Stamp Leather - Stamp the leather with your or the recipient's name following the instructions on the leather stamp packaging.
Step 3: Paint Leather - Place a piece of painter's tape 1/2" above the name. Paint the exposed section of the leather using acrylic paint and a paintbrush. Let dry before removing the tape.
Step 4: Create Loop - Slide a key ring onto the leather strip and fold the strip in half to create a loop. Attach both ends of the leather following the instructions on the metal rivet packaging.
DIY by HGTV: Leather Key Chain
3. Personalized Coffee Mug

For this DIY, you will need:
- Oil-based Sharpies
- Blank mug
Directions:
Step 1: Buy a white cup or mug from any supermarket or discount store and oil-based Sharpie markers.
Step 2: Start drawing. Choose a quote or design that you want to draw and have fun with it!
Step 3: Let the design on your mug dry for several hours or overnight.
Step 4: Place the mug in the oven and turn the temperature to 350˚F. Do not preheat the oven. Leave the oven on for 30 minutes. Remember to leave the mug in the oven until it cools completely. This will help avoid cracks forming in the mug.
Step 5: To keep the design from being ruined, the mug should only be hand washed. It is not dishwasher safe.
DIY by PopSugar: Sharpie Mug
These gifts are sure to put a smile on your dad’s face on his special day!
Sign up for our newsletter
get 10% off your purchase today!
