
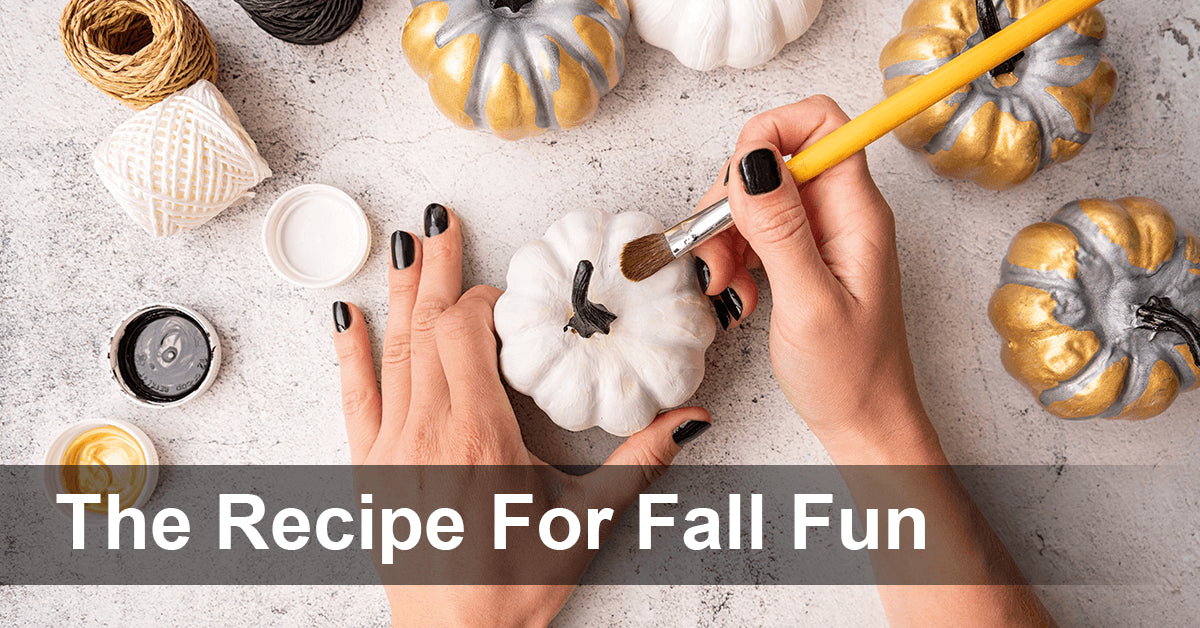
The Recipe For Fall Fun
Hello, Beautiful!
Have you ever wondered what the recipe for fun would look like if there was one?
Well, I think this week's recipe for fun is absolutely fabulous!
This is perfect for all women to check out, especially moms, teachers, and grandmas.
Below, you'll find a list of 4 fantastic DIY projects for the home and for kids!
1. Noche Upcycle
I, of course, have to start with Noche! I am in love with these little upcycled products of ours. This is perfect for any empty bottles or jars you may end up with this month!
Materials:
Ghost:
- Coffee Filter
- Rubber Band
- Black Pen or Sharpie
- Noche's Revitalizing Vitamin C Serum or Noche's Caviar Anti-Wrinkle Eye Contour Cream
Creature:
- Black Pipe Cleaners
- White Paper
- Black Paper
- Scissors
- Glue
- Noche's Caviar Rejuvenating Face Cream
Instructions:
Ghost:
1.) Take a coffee filter and place upside down on top of your serum or eye contour bottle.
2.) Place a rubber band around the filter and bottle about halfway down.
3.) Draw little black eyes near the top.
4.) It's that simple. Ghost is now complete!
Creature:
1.) Take 1-2 pipe cleaners, depending on length, and twist together to form a circle that can snuggly fit around your jar. This is the creature's "body."
2.) Cut 4 more pipe cleaners to your desired leg length.
3.) Take each "leg" and wrap one end around the circle you have just made.
4.) Once each leg has been attached to the body, bend the leg into shape.
5.) Cut your black and white paper into small circles. This can be done with a hole punch if desired.
6.) Glue your black circle onto the white circle, and then glue the back of the white paper onto your jar.
7.) Now your creature has eyes, and they are complete!
2. Embroidery Hoop Suncatchers
I think these are absolutely beautiful! These could be hung in a kitchen window, or could even sit on a shelf! These DIY suncatchers are so natural and so simple!
Materials:
- Scissors
- Ribbon
- Contact paper
- Embroidery hoop
- Twine
- A handful of leaves
Instructions:
1.) Cut contact paper to size.
2.) Peel the backing off, lay down on work surface with sticky side up, place inside part of embroidery hoop on top.
3.) Press leaves onto the contact paper, with front sides down.
4.) Cut another piece of contact paper and place on top, sandwiching the leaves.
5.) Press contact paper firmly together, smoothing out as you go.
6.) Push tightly against the hoop and around the outside edges as well. Then, add the outer part of the hoop to the front of your inside hoop and tighten the screw.
7.) Trim contact paper edges. Add a loop of twine to use for hanging, and if you'd like, tie ribbon around the screw for decoration.
3. Fall Leaf Lanterns
These lanterns are so unique and guess what--they are easy enough to make that the kids can hop right in and make their own night light! Depending on your child's age, this can be made a with a little bit of help or kids can do this on their own. Part of the fun can be picking out the perfect leaves!
Materials:
- A clear glass vase or jar
- Mod Podge
- A small paint brush
- A handful of leaves
Instructions:
1.) Paint a layer of Mod Podge around the outside of your vase or jar.
2.) Apply your fall leaves to the outside of your jar.
3.) Paint another layer of Mod Podge over your leaves to seal them onto the vase or jar.
4.) Let dry completely.
5.) Add a candle or for a child's room, an electric faux candle to create a comforting, warm glow.
4. Apple Stamping Pumpkins
This is too cute! If you're on the search for a craft for your classroom or younger kids, this is a great option. Plus, mamas, you can take the final product and frame this for your kitchen during fall!
Materials:
- Apple (cut in half down the center)
- Glue
- Scissors
- Pencil
- White Paper
- Orange paint
- Googly eyes
- Brown pipe cleaners
- Green pipe cleaners
Instructions:
1.) After you have cut your apple in half, use a small paint brush to brush on a layer of orange paint to the flat side of your apple.
2.) Carefully press the painted apple side down onto your paper.
3.) Once you have stamped your paper with as many apple pumpkins as you desire, let them dry.
4.) While your paint is drying, cut your brown and green pipe cleaners into small stem sizes.
5.) Take the cut green pipe cleaners and wrap then around a pencil to twist them into a curl.
6.) Once your painted pumpkins have dried, glue your stem and curly leaf onto the pumpkins.
7.) Lastly, glue on your googly eyes to give your pumpkin's character.
*Note: if your child is much younger, you could simply have them do steps 1 through 3, and steps 6 and 7.
I hope you try one of these crafts in your home this week and have a ton of fall fun! If you know someone who may love one of these crafts please share my blog with them. The Recipe For Fall Fun is meant to be shared!
As always, if you try out this week's recipe, feel free to email pictures to info@nocheskincare.com and comment below!
Resources:
Embroidery Hoop Lead Suncatchers on Buzzmills
Fall Leaf Lanterns (Tutorial) on Happiness is Homemade
Apple Stamping Pumpkin Craft on Made to be a Momma
1 comment
Sign up for our newsletter
get 10% off your purchase today!

Love all of these ideas and thanks fosr sharing them. Will put your ideas to good use. Also sending them to my girls